
In Flintlock: The Siege of Dawn, the Battle Hardened quest begins when you meet a grateful carpenter at Mudfish Dock, who asks you to remove all bandit flags in the area following your successful win against the bandits in the village. Your mission is to find and take down all the banners of the bandits, starting with the four marked around Mudfish.
Once you’ve completed this task, the carpenter will reveal that there are many more banners scattered throughout the world, waiting to be removed. Destroying each banner gives you a small reputation boost, and clearing all banners in a region rewards you with a much bigger bonus. Finding all of them also earns you the Red Flag Achievement.
Here is a quick guide to help you locate all 30 banners for the Battle-Hardened quest, of which 15 are situated in Three Peaks and the remaining 15 in Wanderer’s Rest.
Locating 30 Banners For The Battle Hardened Quest
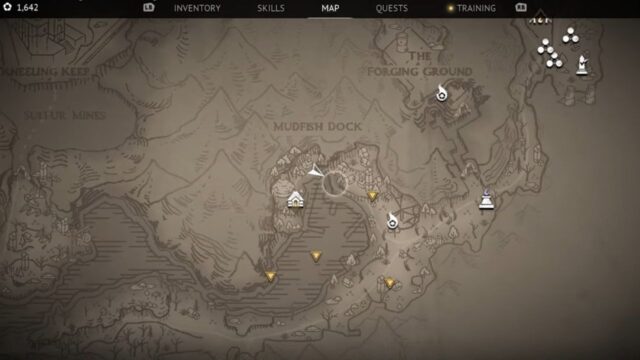
As part of the Battle Hardened quest, you’ll be introduced to the bandit banners after freeing Mudfish Dock. Initially, you’ll be tasked with destroying four banners around the village marked with quest markers.
Upon completing this, the quest expands to include the remaining 26 banners spread across the map, offering a grand reward of 7,500 reputation and a medal.
The 30 banners are scattered across two maps: 15 in Three Peaks and 15 in Wanderer’s Rest. You can destroy all banners at any time, even after completing the story, as the game offers free-roam exploration post-story, ensuring nothing is missable.
To make the most of your adventure, it’s recommended to complete the banner hunt in Three Peaks before moving on to Wanderer’s Rest, avoiding the need to backtrack later.
Location of 15 Banners in Three Peaks
Banners 1-4: Mudfish Village
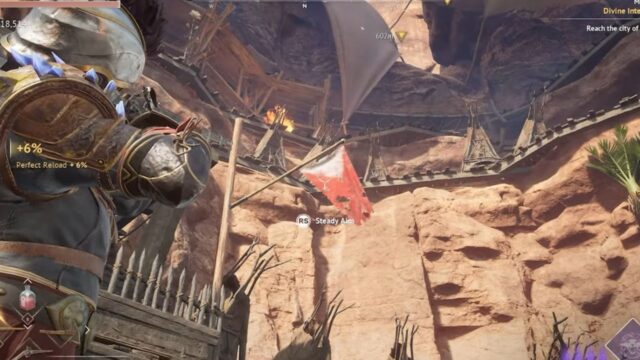
From the Coffee Shop, head right to locate the first four banners. Look for a Skull near the cliff where you fought the bandit leader, which will activate Rifts across the lake.
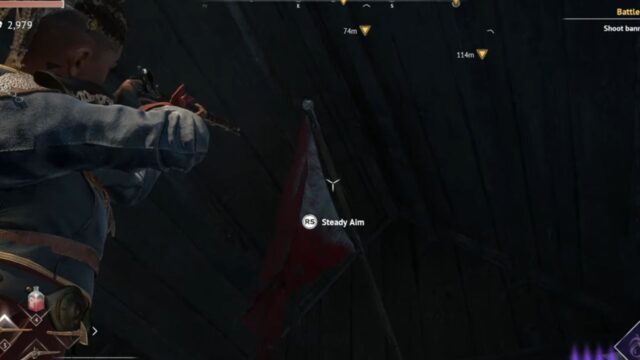
These Rifts will take you straight to the banners, allowing you to destroy them with your pistol or Marksman’s Musket.
Be aware that some banners are only visible from certain angles, so keep a sharp eye out, especially while flying through the Rifts.
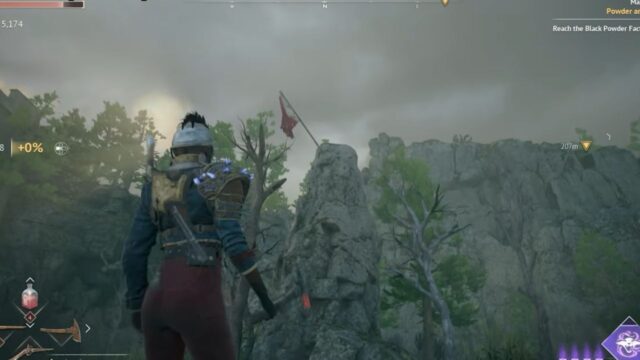
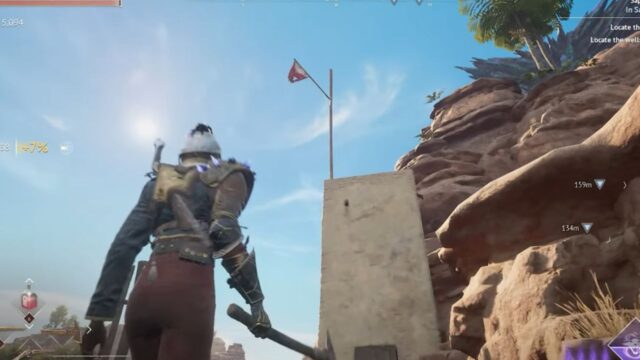
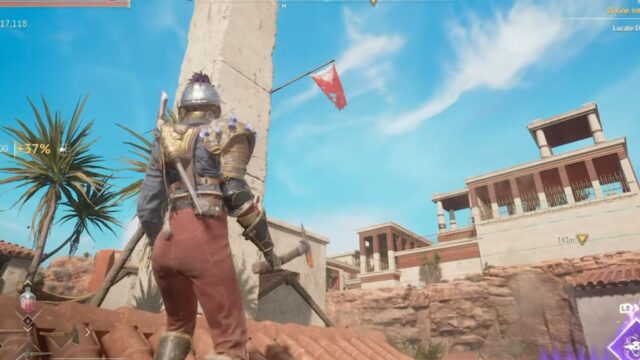
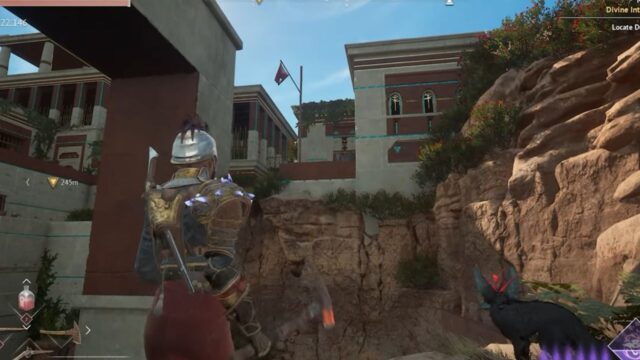
The four banners can be found in the following locations:
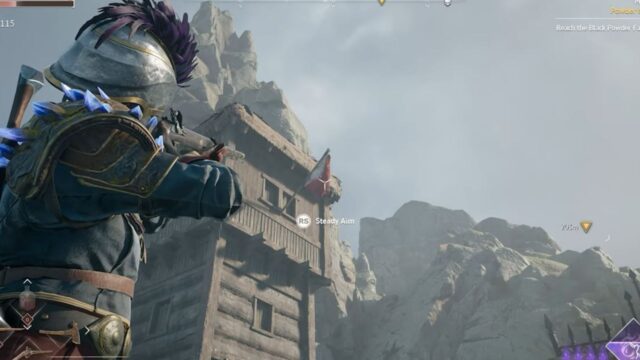
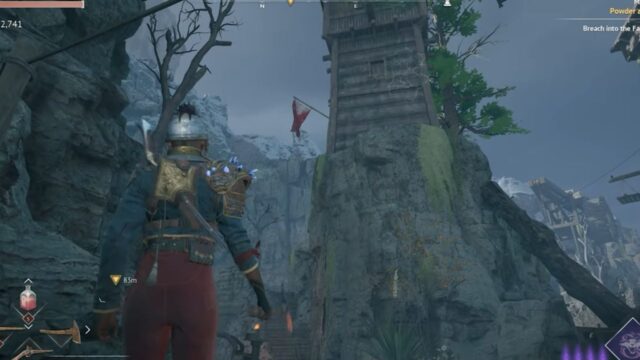
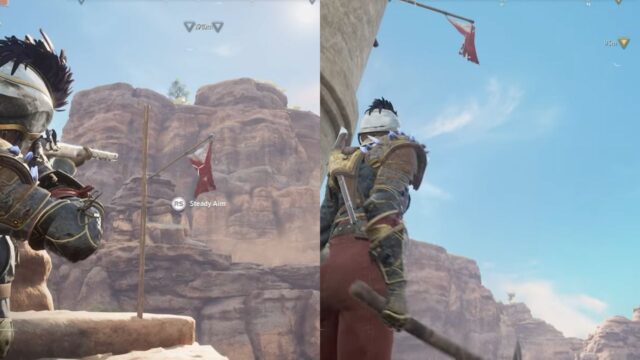
- Atop a tall watchtower
- Inside an open steeple above a storehouse
- On a floating dock in the lake’s centre
- Along the cliffs on the opposite side of the water, heading towards the Rosy Mile
You’ll have no trouble finding the banners, as they’re conveniently indicated on both your in-game map and HUD, making them easily identifiable.
Banner 5: Rosy Mile

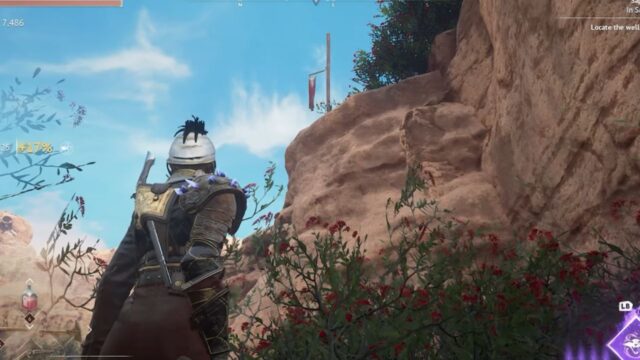
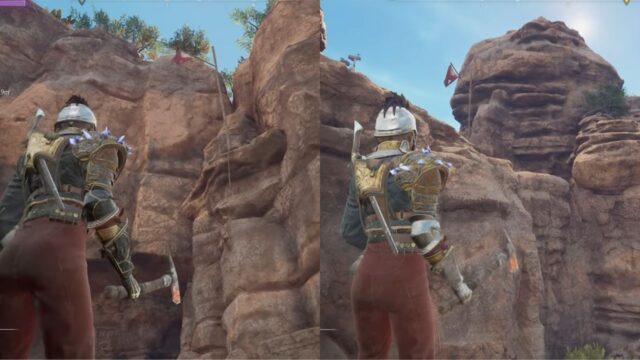
From the Lodestone on the Rosy Mile, look west to find the Banner: it’s situated midway between Rosy Mile and Mile End’s Barricade, next to a hut on a large rock formation beside the river. Be careful not to pass the Inaya Shrine, as that’s a sign you’ve gone too far.
Banner 6: Mile End’s Barricade

The next banner is in the ruined fort inside Mile End’s Barricade, on the side of a building in the courtyard of the barricade where you fight the horde.
Banner 7: Whitebridge
After defeating the first Revenant and liberating Whitebridge, don’t forget to destroy the Banner on the watchtower near the gate leading to the Foglands. The Banner is located in the western part of the village, hanging near the top of the tower to the left of the exit points.
Banner 8: Enlightened Peak
When taking a detour to Enlightened Peak via Rifts along the river for the Delayed Reunion side quest, don’t miss the opportunity to destroy the Banner located across from the Lodestone at the base camp, where villagers are gathered.
The Banner is hanging from a building on the right side of the village, at the base of the peak climb near Obas. And don’t forget to collect the Enki Feather at the summit while you’re there!
Banner 9: Foglands
After setting up camp in the Foglands, head north to the ruined tower, climb to the top to collect the Enki Feather, and then face the Horde to the west of the building.
Once you’ve defeated the Horde, you’ll be able to safely destroy the Banner on the structure they were guarding, which is located on top of a rock formation in the pond in the northern part of the Foglands.
Banner 10: Pitman’s Gate
After exiting the Flooded Pit, you’ll find yourself on the opposite side of the river, near the water wheel. Look eastward for a tall building with a worn-out crane, and you’ll spot a Banner near the base of the structure.
Banner 11-12: Sulfur Mines

In the Sulfur Mines, you’ll find two Banners. The first is on the ground floor, visible from the axe thrower fight spot near the entrance where you’ve defeated a horde of enemies. Jump to the scaffold and destroy the Banner.
After obtaining the Ricochet Cannon, progress to the next room with a single Rift, where you’ll find a well-hidden Banner atop wooden scaffolding above the optional breach. Take a moment to spot it from inside the Rift, then jump to the scaffold to destroy it.
Banner 13: Gavel Gate
Upon arriving at the Workyard, you can destroy the banner at the top of the wooden watchtower near the campsite in upper Gavel Gate by jumping from the nearby ledge.
Alternatively, you can return to Gavel Gate and use the Marksman’s Musket to shoot down the Banner from ground level.
Banner 14: City of Writ
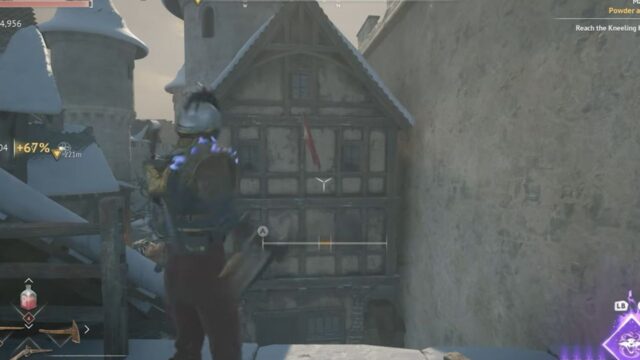
In Writ, bypass the market square and ascend the stairs. Then, climb over the broken cart on the left and follow the path to a rift skull pedestal. You’ll reach the cages guarded by two Heralds, where you can either fight or sneak past them. Continue east to the city wall, where you’ll spot a Banner on a house across from you.
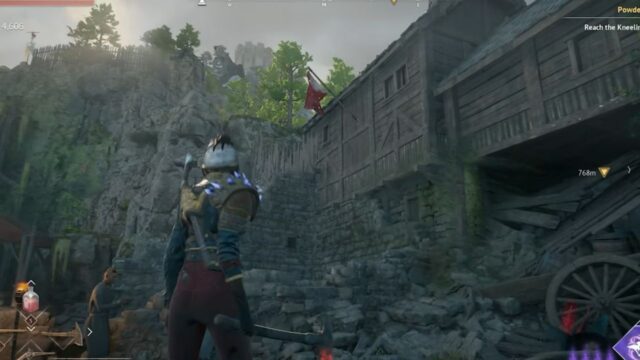
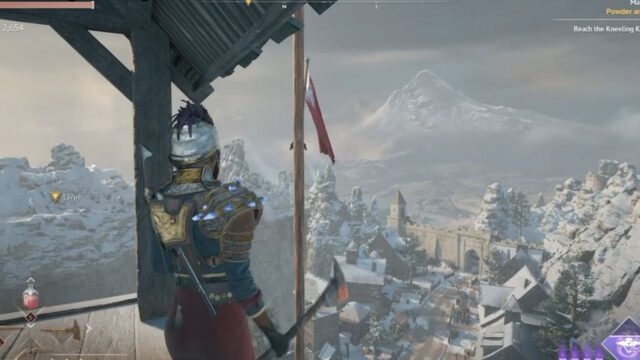
Banner 15: Kneeling Keep
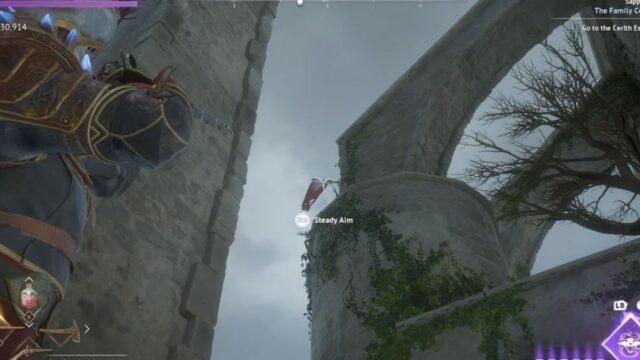
The last Banner in Three Peaks is located on a support pillar at the top of Kneeling Keep, just before facing Rammuha. After rift-ing to the cathedral’s top, head down towards the city from the Lodestone.
At the first curved staircase, look up to spot the final Banner. Take it down, and you’ll have found all 15 Banners, earning you extra Reputation points before the upcoming boss fight!
Location of 15 Banners in Wanderer’s Rest
Banner 1: First Anchor
In the heart of First Anchor, the Banner can be shot down from the highest vantage point in the Hamlet – the top of the tallest tower in the central area.
Banner 2-3: Cape Reunion
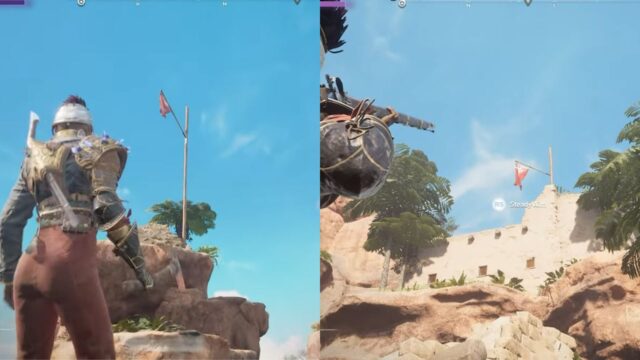
As you follow the mysterious woman to the cliff’s summit for the Side Quest Ascension, you’ll spot the first Banner atop a vertical rock formation with crumbling walls. You’ll likely need to shoot it down from this location.
In the southeast corner of Cape Reunion, a ruined stone structure sits atop a cliff, visible from the Lodestone in front of the hamlet. The second Banner is perched on top of this structure and can be shot down using the musket.
Banner 4-5: Pilgrim’s Outlook

As you approach Pilgrim’s Overlook during the Main Quest, “The Enemy’s Grasp”, look for the first Banner atop a tower in the east.
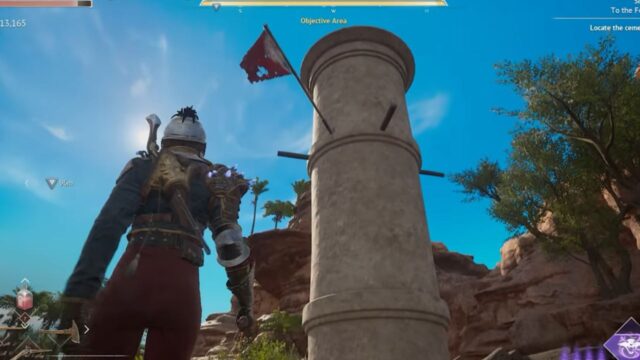
Later, in the northwest part of Pilgrim’s Overlook, you’ll find the second Banner on a pole in the central encampment, near the location where you battle Feral Farragh, the settlement leader.
Banner 6: Backharvest
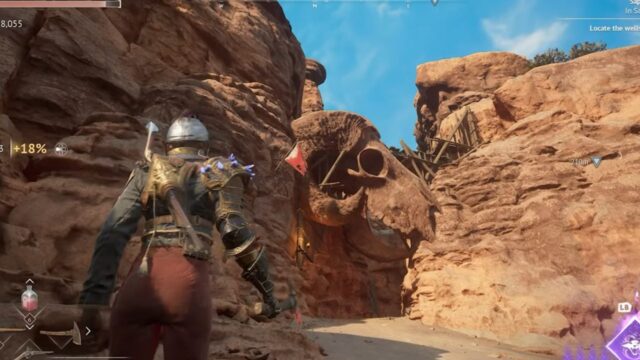
In the area north of Backharvest, a Banner is positioned above the pathway entrance to Exile’s Cradle, situated next to a large horned ram skull.
Banner 7: Exile’s Cradle
In the northern part of Exile’s Cradle, a Banner is suspended from a flagpole at the rear of the arena, high above the combat area, which you’ll visit during the “Prizefight” Side Quest.
Banner 8-9: Wisdom’s Edge
Midway between Grasslands and Wisdom’s Edge, a Banner is suspended from a flagpole on a ledge located east of the bandit camp in Wisdom’s Edge.
In the southern part of Wisdom’s Edge, the second Banner sits atop the large, round stone tower, which is also the tallest tower in the northeast area of the Campsite.
Banner 10: Sybil’s Teeth
In the canyon area, a Banner is perched on a cliff south of the Backharvest entrance, roughly midway between the southern campsite and the Coffee Shop in Backharvest, nestled between Sybil’s Teeth and Backharvest.
Banner 11-12: Goatfoot Gorge
East of the Sunshelter and South Goatfoot Gorge, a Banner hangs out of reach on a rocky ledge, necessitating a precise musket shot to claim it.
The second banner is suspended high above, in the caves and canyon of northeast Goatfoot Gorge, and must be brought down with another musket shot.
Banner 13: Breakwater Cliffs
This banner sits atop a tower at the entrance to the Breakwater Cliffs territory.
Banner 14: City of Sibyl
In the southern part of the City of Sibyl, a Banner is perched atop a tall stone pillar located in the heart of the Merchant Quarter.
Banner 15: Enlightened Halls
Across the water, a short distance southwest of the Lodestone at Enlightened Halls, a Banner hangs from a flagpole, requiring a musket shot to bring it down.
That’s all of the locations for the 30 banners of this quest. May your aim be true and your journey be fruitful!
Good luck hunting!
About Flintlock: The Siege of Dawn
Kill. All. Gods.
Immerse yourself in Flintlock: The Siege of Dawn, a thrilling Souls-lite action RPG that combines the ferocity of divine powers with the intensity of gunpowder-fueled combat.
As Nor Vanek, an elite soldier in the Coalition, you’ll embark on a dangerous quest for vengeance against the Gods who have unleashed their wrath upon the world. With the city of Dawn on the brink of destruction, you’ll need to master a range of skills, including magic and gunpowder, to defeat the divine forces and their armies of the dead.
Your ultimate goal is to close the Great Below’s door that has unleashed this chaos upon the world. Will you answer the call to arms and determine the fate of humanity in this gripping battle of Gods versus guns?
On July 18, 2024, this epic struggle will arrive on PlayStation 5, Windows PC, Xbox Series X, and Xbox Series S, courtesy of A44, the talented studio behind the critically acclaimed Ashen.


No Comments on Location of All 30 Banners in Flintlock: The Siege Of Dawn