Out of all the activities gamers need to carry out in The Last of Us Part 1, hunting and gathering is one of the most adventurous. The game demands you to find various revered objects that either help in levelling up or upgrading different aspects of the in-game character, such as weapons.
In order to upgrade their weapons, players need to find five tools in The Last of Us Part 1. Unfortunately, these tools are well-hidden within the game and are easy to skip. As a result, you might unintentionally miss out on a toolbox and give up on the ability to trace back to it.
Additionally, players must get their hands on all five toolboxes if they wish to grab the “For Emergencies Only” trophy, which requires maximum upgradation of all the in-game weapons.
The Last of Us Part 1 has five toolboxes all over the map. You can find the five toolboxes in the following locations:
- Bill’s House in Chapter Four
- Pittsburgh Garage in Chapter Five
- Suburbs Sewer in Chapter Six
- University Science Building in Chapter Eight
- Bus Depot Military Tent in Chapter Ten
Before heading to sections with more information about how to find these toolboxes, it’s essential to remember that they’re red in colour and displayed with particular prominence in the game. Consequently, you’ll hardly be able to miss out on them, given that you’re in the correct room.
Toolbox #1 – Bill’s House (Chapter Four)
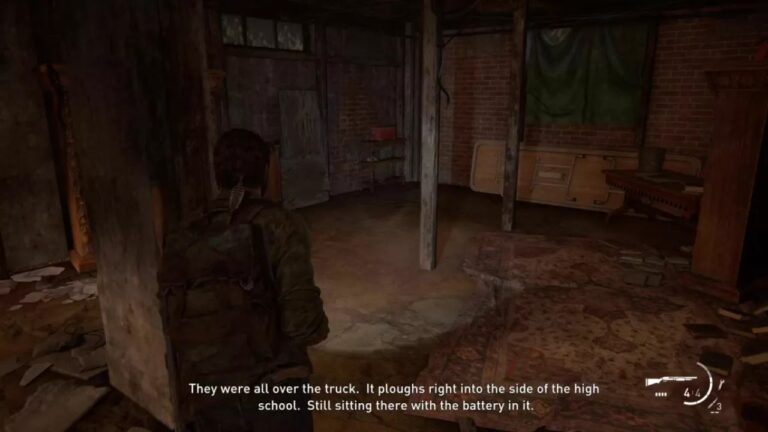
Once you come across Bill, he’ll take you and Ellie to an old church basement. In this region, you’ll gain access to one of the best The Last of Us weapons, the Pump Shotgun, and the Nail Bomb. However, don’t leave the church yet; it has more in store for you than just a handful of weapons.
While you’re in the basement, take a look at the left-hand nook next to the workbench. The alcove lies before the workbench assuming your back is facing the stairs leading up to the ground floor. Upon taking a closer look, you’ll notice that the first toolbox is on a left cabinet with several parts below it.
Getting hold of the first toolbox is worth the trouble before you carry out any upgrades on the workbench, as it’ll broaden your options.
Toolbox #2 – Pittsburgh Garage (Chapter Five)
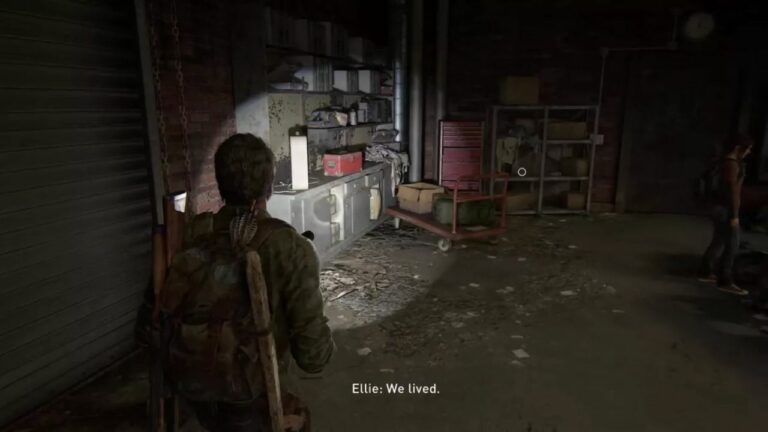
Players can locate the second toolbox significantly early on in Pittsburgh. A few moments after the Hunters’ ambush, Ellie shall assist you in lifting a garage door after the first zone is secure.
Upon entering the garage, you’ll find the second toolbox kept directly on your left, near the game’s foremost Smoke Bomb.
It’s crucial to note that Pittsburgh is a relatively unsafe area, so acquiring and using the second toolbox to upgrade your weapons can substantially increase your chances of survival.
Toolbox #3 – Suburbs Sewer (Chapter Six)
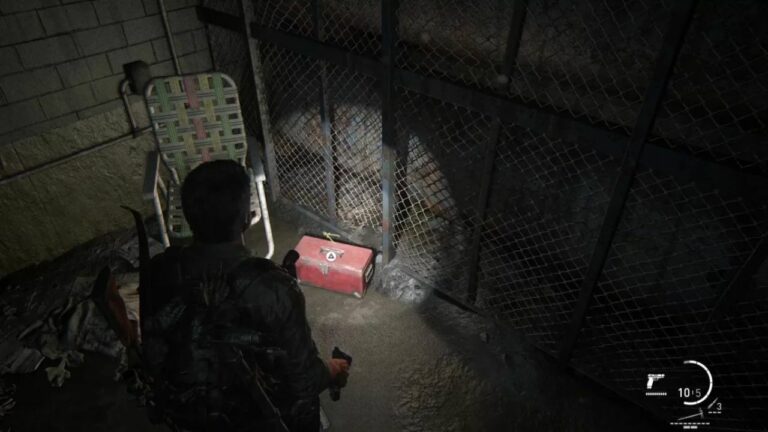
In the part of the game when you’re navigating the sewer with Ellie, Henry and Sam, there shall be an instance where you must float Ellie across the water on a buoyant object. This will lead to Ellie switching on a generator for a moving platform.
After the platform takes you across to the desired location, move down the newly-accessible tunnel and look out for the first door on your left. To help you identify the correct doorway, there’ll be a sign that reads: “DANGER: BOILER ROOM. AUTHORISED PERSONNEL ONLY.”
Enter the room, and watch out for a foldout chair, as you’ll find the third toolbox next to it. Also, you may head back into the water and locate the crashed car to obtain one of the Firefly pendants in The Last of Us.
Toolbox #4 – University Science Building (Chapter Eight)
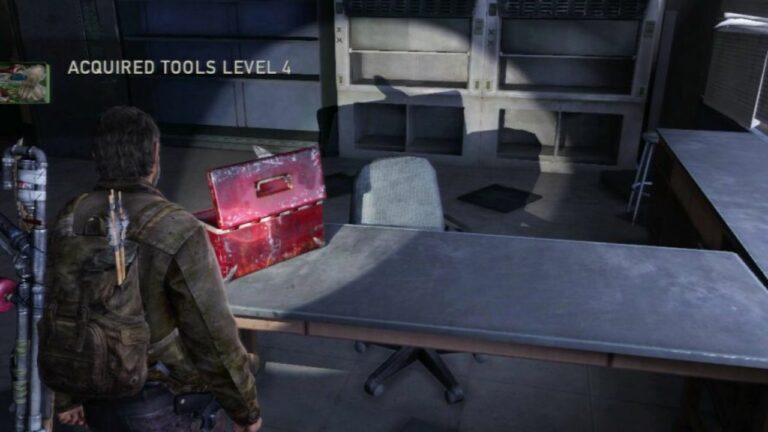
Quite far into chapter eight, players will be able to get their hands on the fourth toolbox of The Last of Us Part 1.
First, enter the university by smashing the gate with a rolling dumpster and climbing through the window of the science building. Subsequently, head down to Room 205, also known as The Lecture Room, by following the corridor on your left. You’ll come across a Shiv door, unlock it with a blade and enter the room.
Upon taking a few steps into the room, you’ll notice the fourth toolbox on the counter to your right. In addition, there are a few training manuals and supplements nearby this toolbox, so make sure to grab them too.
Toolbox #5 – Bus Depot Military Tent (Chapter Ten)
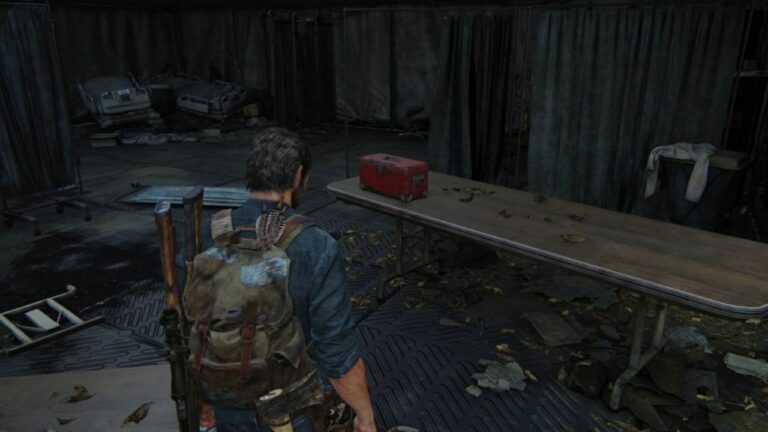
After dealing with the giraffes in the bus depot in chapter ten, Joel and Ellie will venture through and make it out to the other side in a set of abandoned military tents. Players will know they’re in the right location when Joel remarks on the sight of the tents refreshing his memories.
To get your hands on the final toolbox in The Last of Us Part 1, head to the second accessible tent on your left. The fifth toolbox is located in the right corner of the tent. Furthermore, there’s also a workbench nearby for you to work on.
About The Last of Us Part II
The Last of Us Part II is a an action-adventure game developed by Naughty Dog and published by Sony Interactive Entertainment for the PlayStation 4. The game is set 5 years after the events of the first game.
Players control Ellie on her journey for revenge against The Wolves, a faction which has set up in Seattle. On her journey, Ellie fights against survivors of the Cordyceps apocalypse and new variants of the infected. The game mixes elements of stealth and gun-play in vast areas, allowing players to approach the situation as they see fit. The Last of Us Part 2 received an overall positive reception and has gone on to win several Game of the Year awards.


No Comments on All Tool Locations – Weapon Upgrade Map Guide – The Last of Us Part 1