In Roblox’s Terminal Escape Room Chapter 2, your journey continues at the train station, where a new set of brain-teasers awaits.
With 90 minutes on the clock, you’ll need to stay focused, sharpen your math skills, and remain patient to overcome the challenges ahead.
Let’s tackle Chapter 2 of Roblox Terminal Escape Room and see if we can beat the clock together!
1. Roblox Terminal Escape Room Chapter 2
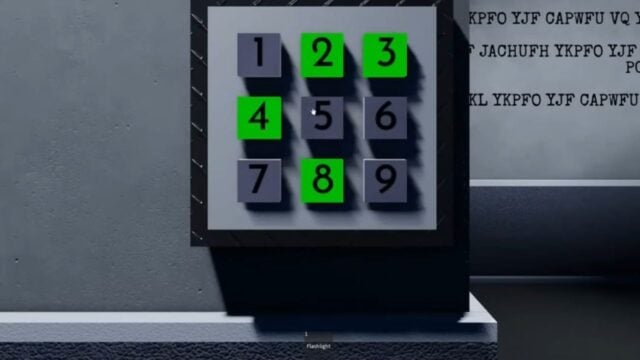
To access Chapter Two of Terminal Escape Room, head to the red neon-lit area within the station. From there, you can tackle the challenges solo or team up with up to four friends. This chapter picks up where the first left off, with you now outside the train. There’s four rooms, each with their own set of tasks that you’ll need to finish to find various codes and complete the escape room.
i. How to solve Puzzles in the Station Area
Your first objective is to find a screwdriver. Here’s how:
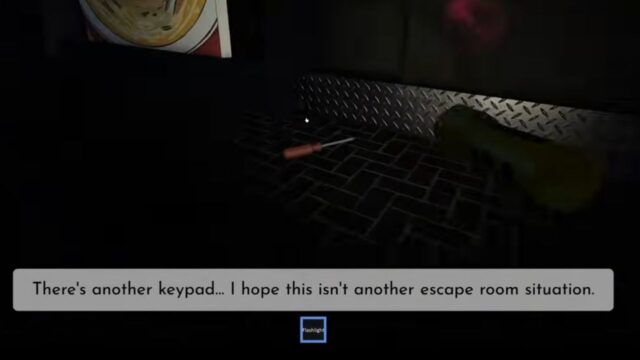
- Cross the train tracks to the opposite side and examine the poster, which provides a hint about the screwdriver’s location.
- Return to the starting side and proceed past the lantern stand, keeping the poster on your right.
- Continue until you spot the screwdriver on the ground, situated between the posters featuring pink flowers and soup. Use your flashlight to help locate it in the dark.
- Once you’ve obtained the screwdriver, approach the train from across the lantern and locate the metal panel.
- Use the screwdriver to unscrew all four screws, revealing a set of colored wires.
To progress, you’ll need scissors to cut the wires. Here’s how to find them:
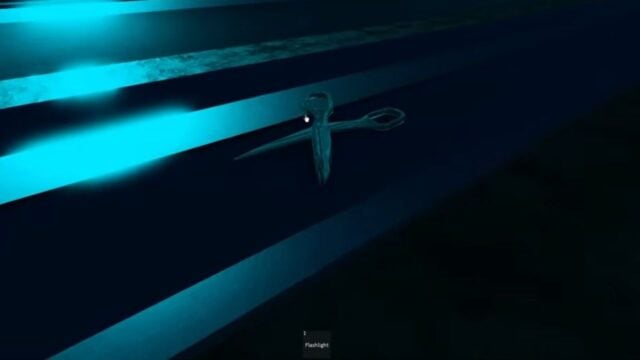
- Cross the tracks again and head to the area with small posters.
- Look for the poster warning against leaving sharp objects on the tracks.
- Keep the posters on your right and walk straight ahead until you reach the tracks.
- There, you’ll find the scissors.
Now, cut all the wires in any order. After cutting them, you’ll need to reconnect them correctly. To do this:
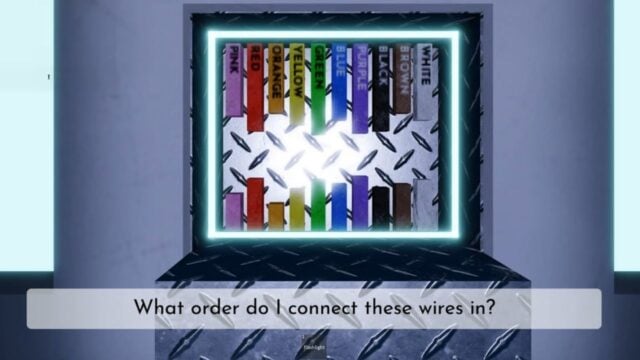
- Return to the poster area and locate the ‘Standardized Electrical Rewiring Protocol’ poster to the left of the ‘Listerez Elections’ poster.
- Follow the wire order indicated on the poster to reconnect the wires correctly: Purple, Brown, Red, Green, Black, Orange, White, Pink, Yellow and lastly, Blue.
Restoring power to the electrical box will activate a number pad. Here, you’ll need to enter a correct four-digit code.
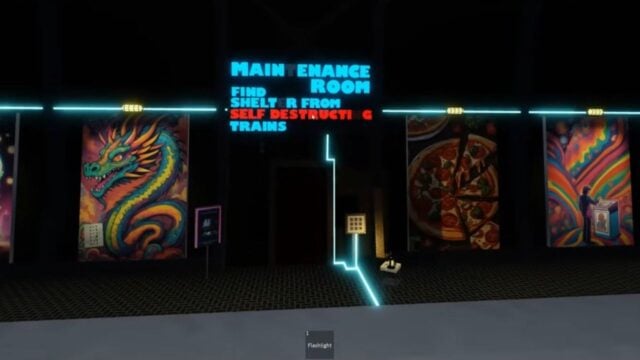
- Climb on top of the train and observe the area with the number pad. The blinking lights will give you clues about the code.
- Clue 1: The Dragon Dimension movie poster on the side of the train shows it streaming as the second movie. The first digit of the code is 2.
- Clue 2: The flashing letters on the sign spell out NINETEEN, indicating the second and third digits are 1 and 9.
- Clue 3: The ‘Sun Always Rises’ poster mentions Third Avenue, revealing the last digit as 3.
Combining these clues, the correct code is 2193. Enter this code into the number pad to reveal the hidden corridor.
ii. How to Solve Puzzles in the Maintenance Room
To solve the Maintenance Room puzzle, complete the four tasks listed on the computer:
- Take Out Trash
- Find Two Pipes & Fix Plumbing
- Track Anita’s Location Yesterday
- Count Sticky Notes (Dozen)
Each task will reveal a single digit. Once you’ve completed all tasks, combine the digits to form a code and enter it into the numpad next to the circular floor cover.
First Task: Take Out Trash
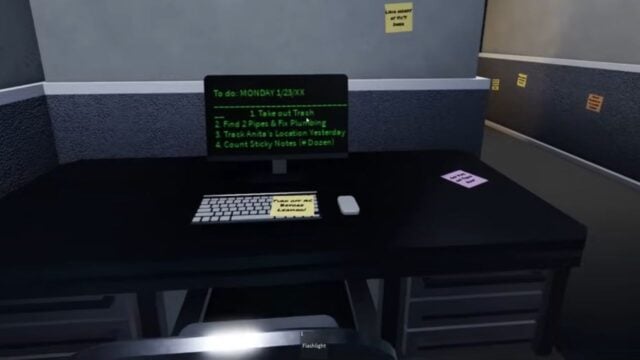
- Locate the sticky note near the numpad, which mentions “Sweep Up The Broken Tile”.
- Approach the broken tile on the floor and find the adjacent sticky note with a math formula: (Four x MOON) – (Two x SUN).
- Examine the framed pictures to the left of the bookshelf. You’ll find sticky notes with numbers: 4 on the Moon picture and 7 on the Sun picture.
- Apply these numbers to the math formula: (4 x 4) – (2 x 7) = 16 – 14 = 2.
The first digit of the code is 2.
Second Task: Find Two Pipes & Fix Plumbing
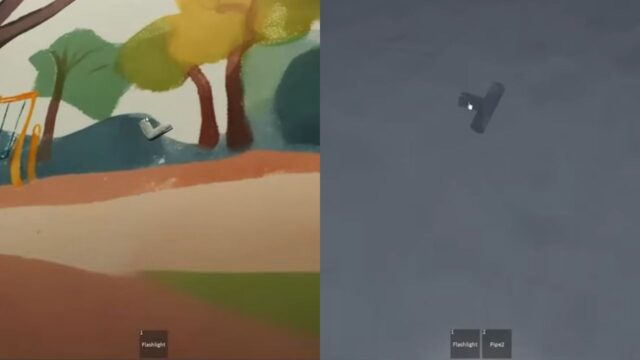
- Retrieve the T-shaped pipe from the train’s roof.
- Obtain the L-shaped pipe from the park poster, located two posters to the left of the Dragon poster.
- Insert the pipes into the puzzle to the left of the task computer and click ‘Fix’.
- Although you won’t be able to connect all pipes, focus on linking the top-right pipe to the bottom-left pipe.
- This will form a shape resembling the number five.
The second digit of the code is 5.
Third Task: Track Anita’s Location Yesterday
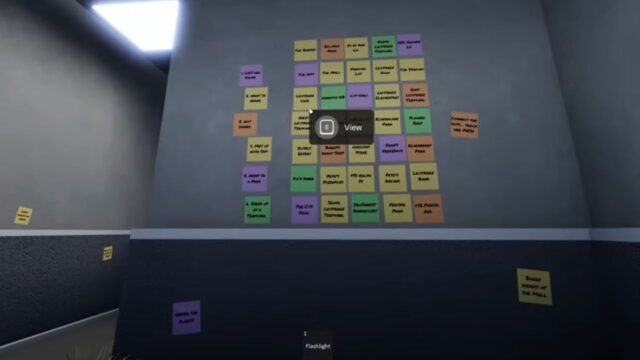
- To complete this task, use the sticky note group to the left of the Sun and Moon posters to track Anita’s location.
- Gather clues from various sticky notes around the maintenance room. Anita’s movements can be pieced together as follows:
- Left her house at 1534 Archer Ln.
- Went to work at the bakery where Janice works.
- Had dinner at Vic’s Diner, served by Lydia.
- Met up with Sam at Pete’s Arcade.
- Visited Elderglade Park.
- Ended up at West Leisterez Terminal.
- By connecting these points on the sticky note map, you’ll form a shape resembling the number six.
The third digit of the code is 6.
Fourth Task: Count Sticky Notes (Dozen)
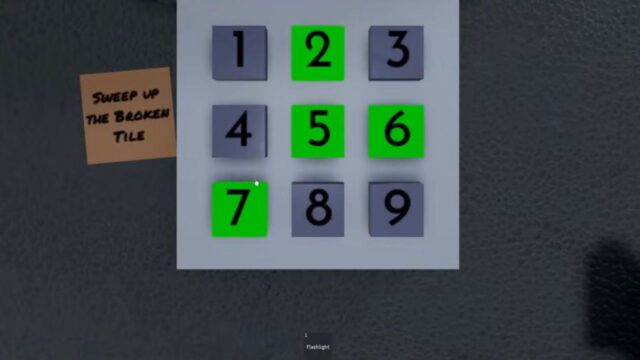
- This task requires counting the numerous sticky notes scattered throughout the room.
- To simplify the process, note that there are 84 sticky notes in total.
- Since the task asks for the count in dozens, divide 84 by 12 to get 7 dozen.
The fourth digit of the code is 7.
Combining the digits from all tasks, the complete code is 2567. Enter this code into the numpad on the floor to unlock the circular cover, granting access to the next room.
iii. How to Solve Puzzles in the TV Room
Your first step in this maze-like environment is to search for and retrieve the controller for the tv and solve a puzzle that gives you the code to exit this room.
Finding the Controller
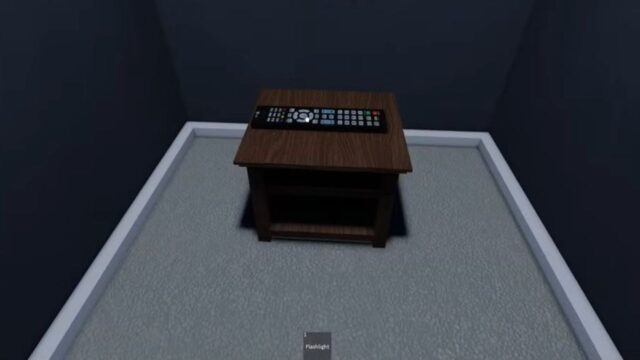
- Go straight ahead from the entrance.
- Turn left and proceed to the end of the corridor.
- Turn right, and the path will split; turn right again.
- Follow the path to find the remote control.
Locating the Five Ciphers
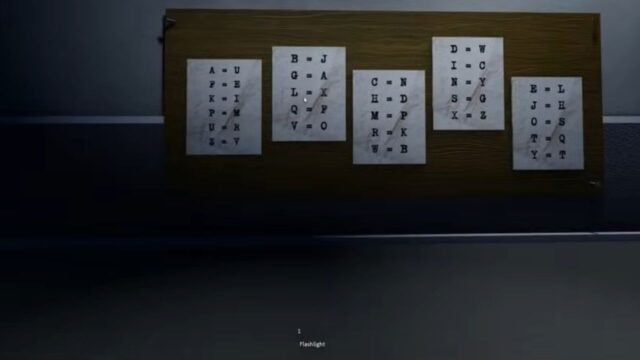
- Cipher 1: Behind the wall at the maze entrance.
- Cipher 2: Under the air conditioner in the maintenance room.
- Cipher 3: On the dragon poster next to the train.
- Cipher 4: In the maze, turn right, follow the path, turn left when it splits, and find the cipher on the left wall.
- Cipher 5: From the fourth cipher, enter through the left wall, follow the path, turn right at the split, and climb up through the hole. Find the last cipher on the wall in the room filled with screens.
Solving the Four-Digit Code
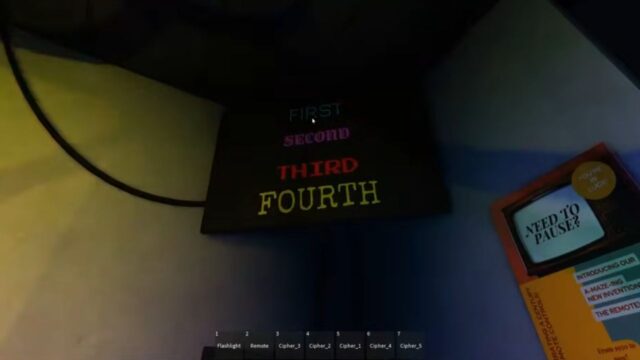
- Use the remote control to pause the TV screen displaying orders in the top-left corner of the numpad.
- This will reveal the correct sequence of grid screens needed for the code.
- Observe the middle TV stack, noting the colors and labels of the screens.
- Fill in the corresponding colored grids in the room based on the TV screens.
- Once completed, examine the shapes in each grid, which will resemble specific numbers:
- Red Grid: Screen Two (2)
- Blue Grid: Screen Six (6)
- Green Grid: Screen Seven (7)
- Yellow Grid: Screen Eight (8)
The correct code is 2678. Enter this code into the numpad to unlock the door next to it.
iv. How to Solve Puzzles in the Cipher Room
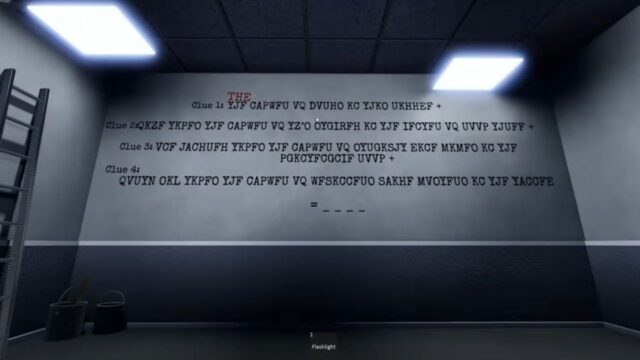
To escape this final room, begin by placing the collected ciphers from the last room onto the wooden board mounted on the wall. Then follow these steps to solve the ciphers:
- Read the papers to decode the message on the opposite wall, starting with the clues labeled “To Check.”
- Substitute the letters to reveal the required checks: 23 TVs, 30 pipes, and 7 beginner guides.
- Use the room’s clues to perform the math calculations: Math Formula Solution = 45 + (23 × 5) + (30 × 100) + (7 × 46) = 45 + 115 + 3000 + 322 = 3482
Enter the code 3482 into the numpad to the right of the elevator and press the green button to complete the chapter.
Congratulations! You’ve successfully navigated the challenges of Terminal Escape Room Chapter 2 and unlocked the next stage.
See you in the next chapter, and happy puzzle-solving!
2. About Roblox
Roblox is a popular online game platform which lets players create their own games and play games made by other users. It is developed by Roblox Corporation and is available on Microsoft Windows, Xbox One, Xbox Series X/S, Android, iOS, Fire OS, and Mac.


No Comments on The Tunnel – Roblox Terminal Escape Room Chapter 2 Walkthrough