In Star Wars Outlaws Quest ‘The Truth’, Kay and Riko must sneak into an Imperial space station to steal Sliro’s security codes, enabling their return to Canto’s mansion. Stealth is crucial, as triggering an alarm means instant failure.
Here’s a step-by-step guide to navigate this challenging mission and escape undetected.
1. The Truth Quest – Star Wars Outlaws
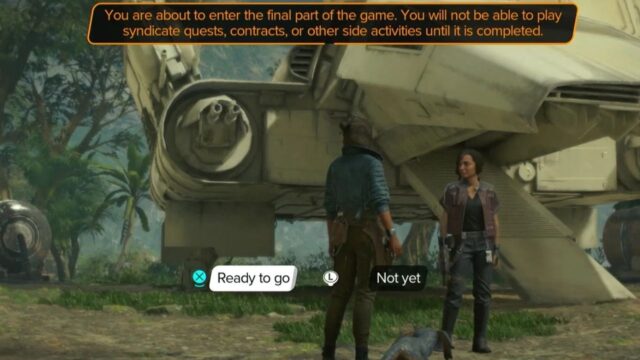
With the Legacy quest complete in Star Wars Outlaws, our team is fully assembled with ND’s fix and Riko and Asara on board. Next, Kay must obtain Sliro’s access codes by infiltrating an Imperial space station in ‘The Truth’ quest, where stealth is crucial to avoid detection.
To start the quest, speak to Riko on the lakeshore in western Akiva to begin the final mission sequence. Once you infiltrate the station, you will have to navigate through the conveyor belt and data extraction hub to wipe the viper droid’s data and secure Sliro’s access codes.
Note that starting ‘The Truth’ marks a point of no return, locking you into story quests until the game’s end, so ensure you’ve unlocked necessary abilities and completed quests with desired rewards. You can revisit the open world after completing the main game story.
2. Break into the Station
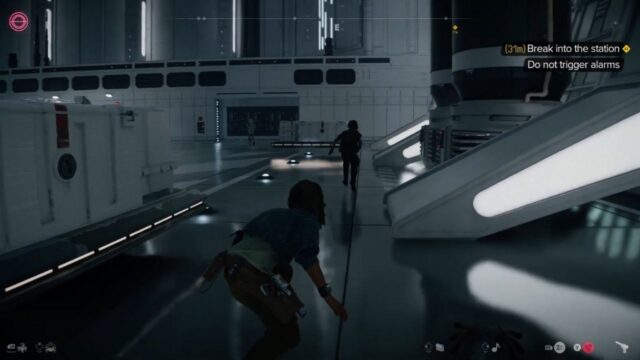
Step 1: Navigate the Lambda Shuttle
- Exit the shuttle and move ahead to the right.
- Press the button on the cargo sledge to move it forward, staying on the right side to block enemy sight lines and remain undetected.
Step 2: Evade Security Cameras
- Follow Riko down the hall to the right, avoiding the security camera in the hallway past the first door.
- Stand behind Riko and look through the window to the right to locate the power switch for the camera.
- Send Nix to turn off the camera before overriding the security door panel.
- Nix can also steal a Personal Commlink from the officer in the adjoining room and some Transparisteel on the desk beside him.
Step 3: Avoid the Guards
- Sneak up on the guard to the right and take her down.
- Slice the terminal she was working at to gain access.
- Open the security door and move the cargo sledge to the next room to avoid immediate detection by stormtroopers.
- Proceed after Kay and Riko finish their conversation.
3. Traverse the Conveyor Belt
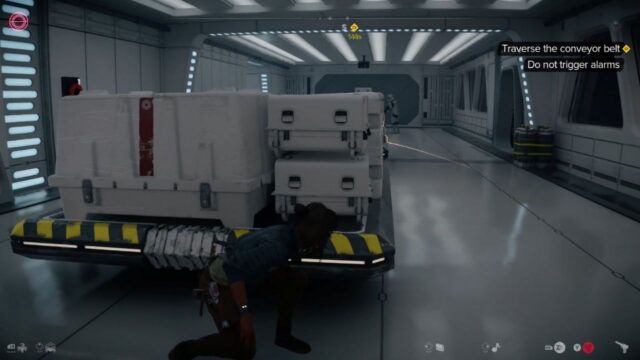
Step 4: Disable the Camera
- Move up the hall, keeping left until you can send Nix to disable the oscillating camera’s power button (located down the hall and to the left).
- Follow the hall to the next room and claim the valuable Crystalline Earrings from the treasure chest.
- Return to the cargo hall.
Step 5: Deactivate Power and Eliminate Officer
- Go to the other end of the cargo hall, past Riko’s monitoring room, and enter the door on the right.
- Eliminate the officer on the right.
- Use the panel on the wall behind him to turn off the power.
- (Optional) Read the datapad by the window.
Step 6: Access the Conveyor Belt
- The door opposite Riko’s room in the cargo hall should now be open; enter and stay low to avoid detection by Imperials on the other side of the window.
- Climb down onto the conveyor belt and walk to the other end. Climb up the platform on the right.
Step 7: Perform Stealth Takedowns
- Sneak up on the nearest enemy and take them down quietly. Have Nix detonate the gas canisters to the left to create concealment.
- Perform stealth takedowns on the remaining two foes without alerting them.
4. Infiltrate the Data Extraction Hub
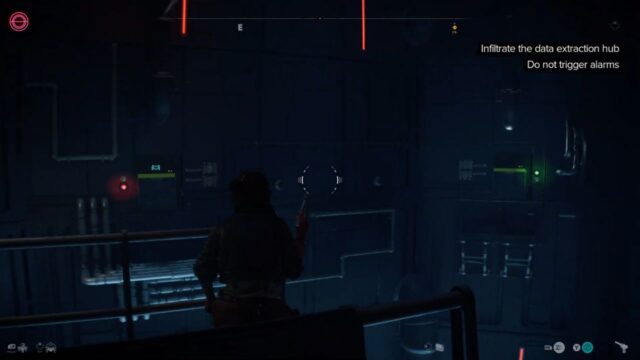
Step 8: Navigate the Maintenance Tunnel
- Drop into the next section of the conveyor belt and enter the maintenance hatch on the floor.
- Traverse the tunnel to the end and swing across the chasm. Climb the wall up and to the left to reach the platform above.
Step 9: Activate the Shutter and Extend the Platform
- Take the Durasteel beside the terminal and stand on the gantry overlooking the chasm.
- Have Nix open the shutter on the wall to the left. Use your Ion Blaster to charge the capacitor inside. Repeat the process for the second shutter to the right.
- A platform will extend, allowing access to the ladder on the other side. Climb the ladder and take a right to find another ladder leading to a chest with valuables.
Step 10: Reach the Data Extraction Hub
- Straight ahead from the first ladder, take the Durasteel against the wall. Enter the vent to the left and follow the dark tunnels to the end.
- Override the chest to obtain a Direct Energy Circuit.
- Work counterclockwise through the vents to reach the Data Extraction Hub.
5. Wipe the Droids’ Data
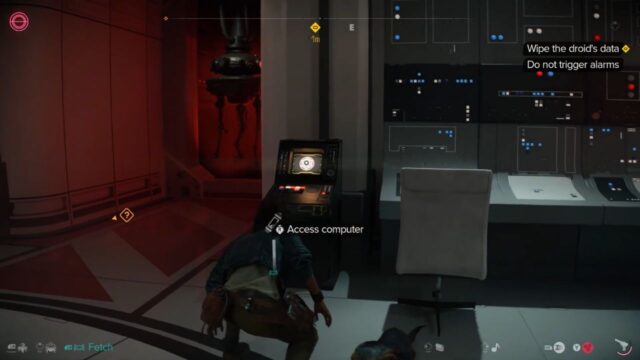
Step 11: Neutralize Enemies
- Enter the second room, where Imperials and Viper droids are present. Hide on the left side of the crates to avoid detection.
- Be aware of the gap between crates where Storm Troopers can see you. Have Nix trap alarm panels to buy more time if spotted.
- Move clockwise around the room, avoiding or neutralizing the officer at the right-hand terminal.
Step 12: Deactivate Viper Droids
- Deactivate the nearby Viper using the terminal on the far left wall. Use smoke from vents as cover to move ahead.
- Take down or evade the Storm Trooper in the hall.
- Move down the corridor to the room with the necessary terminal. Sneak up on the two officers, deactivate the remaining Vipers, and wipe their data.
Step 13: Access the Turbo-lift and the Vent
- Move into the hall on the left and take the turbolift to the next section. Avoid patrolling foes.
- At the bottom of the turbo-lift, Riko will open the door on the left. Use crates to avoid being seen by stormtroopers.
- Enter the door on the right, staying low and crouched. Sneak past the officer at the terminal and into the vent.
- A cutscene will interrupt your progress, but the path is otherwise straightforward. Override the lock at the end to emerge into a new corridor.
6. Find Sliro’s Security Codes
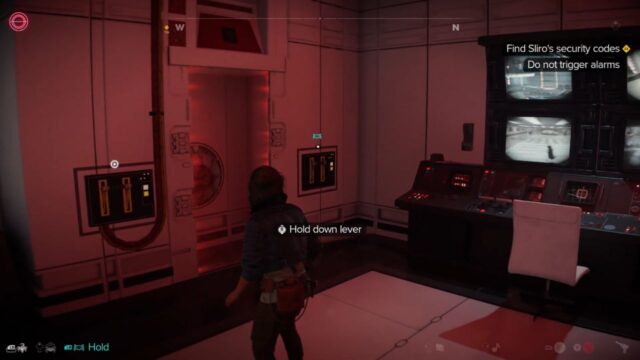
Step 14: Enter Sliro’s Private Chamber
- Look through the window on the left and send Nix to open the door. Inside, have Nix and Kay simultaneously hold down the levers on the left.
- Shoot the power core with a standard blaster shot to open Sliro’s private chamber door.
- Hack the terminal on the left side of Sliro’s room. The large door in the hallway will open, leading to the bridge.
Step 15: Escape through the Ventilation Shaft
- Use the vent on the left to access the bridge safely.
- Work your way to the front and slice the terminal at the fore of the bridge.
- Prioritize eliminating enemies heading for the alarm panel if a fight breaks out.
- Grant Riko access and open the ventilation shaft by using the panel that opens to escape.
- Take a right at the end of the shaft to enter another vent. Go through the door ahead and to the left, then through another vent.
7. Leave the Station
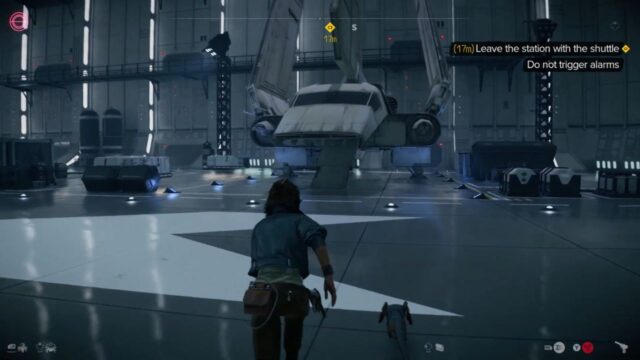
Step 16: Reach the Docking Bay Gantries
- Take down the officer by the door and sneak across to the stairs. Enter the large door at the top and open the panel on the floor at the far side of the holo table.
- Take a left at the end of the shaft and go through the doors to reach the docking bay gantries.
Step 17: Navigate the Docking Bay Gantries
- Swing across to the opposite platform.
- Climb along the wall to the right to reach the support structure above. Walk along the support structure.
- Rappel down the opposite side to reach the floor and go through the door behind you to enter the vents.
- After exiting, continue along the path, up the ladder and down a rappelling wall.
- Climb along the underside of the cargo lifts to reach the other side.
Step 18: Escape the Station
- Loot the chest against the wall and rappel down to meet Riko.
- Proceed through the last doors and across the docking bay floor.
- Avoid drawing attention and beeline to the Lambda shuttle for a clean escape.
And that’s it! With this step-by-step guide, you’ll easily complete “The Truth” quest in Star Wars Outlaws. Remember to stay stealthy and sharp. May the Force be with you on this final journey of the heist!
8. About Star Wars Outlaws
Star Wars Outlaws is an upcoming action-adventure game developed by Massive Entertainment and published by Ubisoft under license by Lucasfilm Games. The game will be set in the Star Wars universe, during the period between The Empire Strikes Back and Return of the Jedi.
It is a single-player, third person action-adventure game set in the Star Wars universe. Set in an open world, the game will feature stealth and open combat, vehicle combat, space combat, and branching dialogue.





No Comments on Stealing and Stealthing: How to Complete ‘The Truth’ Quest in Star Wars Outlaws