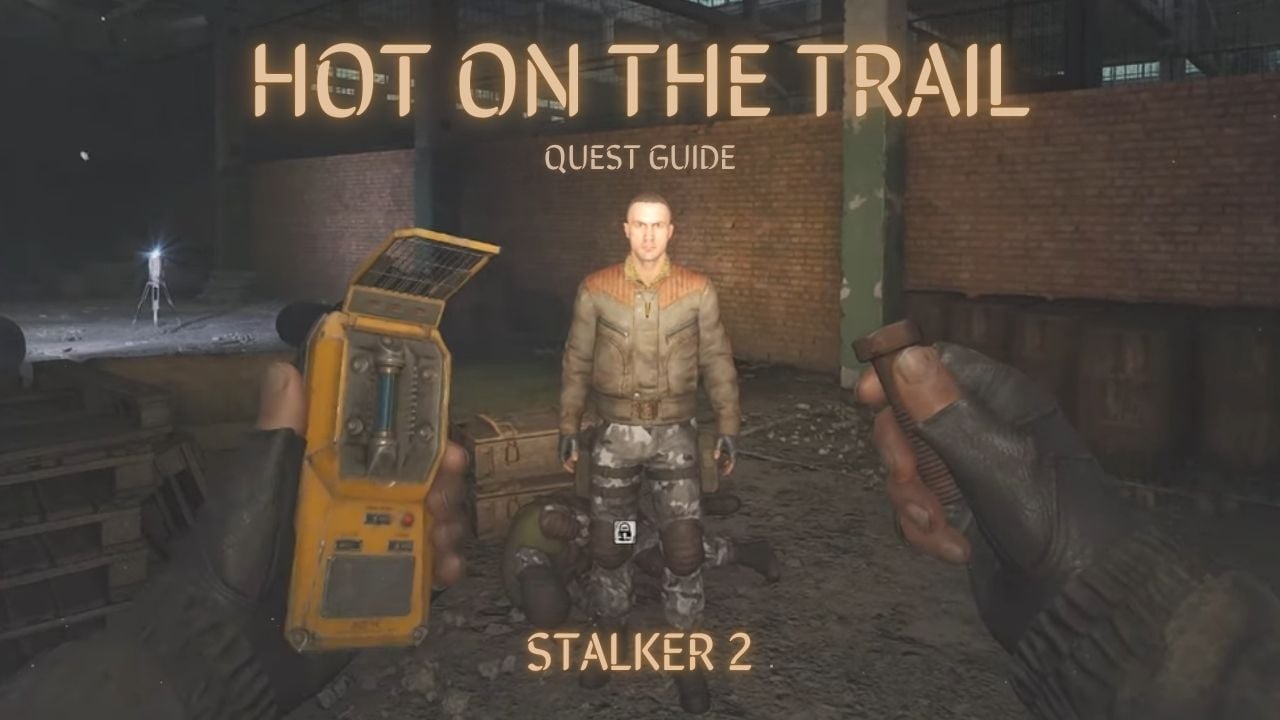
As you venture into the third main area in STALKER 2: Heart of Chornobyl, the Wild Lands, your first objective will be to infiltrate the Noontide Base as part of the Hot On The Trail Quest.
This quest will see Skif tracking down people and objects alike, along with traversing dangerous terrains and defeating a difficult boss. Here’s a complete walkthrough for this quest.
1. Hot On The Trail Quest Guide – STALKER 2
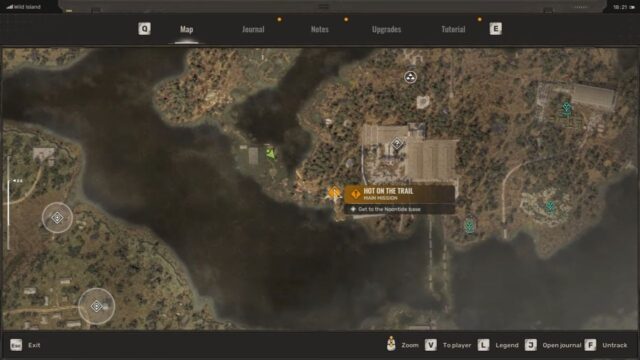
To complete the Hot On The Trail quest in STALKER 2, start by gaining entry to the Noontide Base using the Warden Badge or by delivering cargo to Professor Lodochka. From there, locate Dubny, who will direct you to find Strider on the rooftop, where you’ll retrieve a key from North’s body.
Use the key to access the basement, navigating through the sewer path, and ultimately defeat the mutant and zombies in the final area. After collecting the Inductor and pills to reduce Psi radiation, report back to Strider to complete the quest.
Here’s a detailed walkthrough to help you complete this quest step-by-step.
i. Starting the Quest
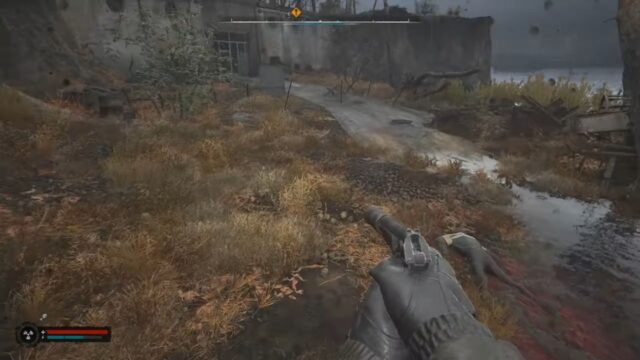
The Hot On The Trail quest begins immediately after your conversation with Scar in the previous quest. Your decisions here will have significant consequences later on. To progress, you’ll need to gain entry to the Noontide Base. Here are the available routes:
- If you previously showed the broken PDA to Colonel Korshunov in the Slag Heap, you’ll have received a Warden Badge. This badge grants you direct access to the base when shown at the gate.
- Alternatively, if you showed the PDA to Scar or chose not to show it to anyone, you’ll receive the A Heavy Burden quest. Completing this quest by finding Noontide’s cargo will serve as your ticket into the base.
Here’s how to complete the “A Heavy Burden” quest:
- To complete the A Heavy Burden quest, head to the blue marker and search the rocky area near the water. You’ll find a briefcase on the ground and a PDA on a nearby corpse.
- With the cargo in hand, take the small pathway leading to the base. You’ll encounter three Bloodsucker mutants, made more difficult to defeat by the tall grass and swampy terrain that can slow you down.
- Additionally, beware of tripwires near the base, marked by small strings on the ground. Triggering these will detonate a grenade.
ii. Dubny and Strider
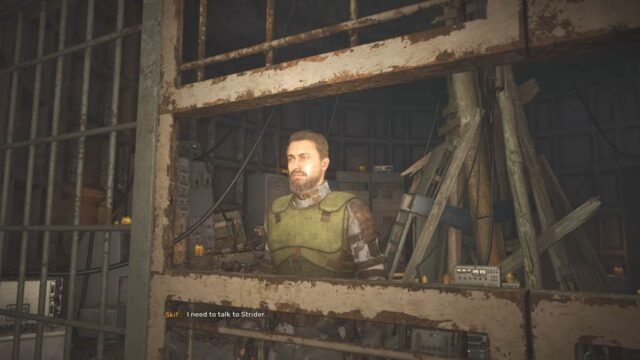
After entering the base, your next steps will depend on whether you have the Warden Badge or completed the cargo delivery for Professor Lodochka. Either way, your quest objective will update to locate Dubny.
- To find Dubny, take one of the stairs in the main base and head left at the first opportunity. You’ll soon come across a section with wooden planks leading into a hole.
- Follow this path, and you’ll reach Dubny. He will then task you with finding Strider, who is currently addressing an emergency within the base.
Here’s a step-by-step guide to reach Strider:
- To find Strider, follow the yellow mark for the main quest until you enter a large area with injured guards near the entrance.
- Upon entering, head left of the minivan and move towards the opposite end. Ignore the first gap in the wall and enter the second one.
- Proceed forward and jump onto the middle part of the train. Exit through the gap in the fence on the other side.
- Crouch through the cylinders and hollow boxes on the ground, then pass through the first gap on the right wall.
- Navigate through the acid and fumes, keeping forward to reach the other side of the room.
- Turn right from the pillar and follow the wooden platforms through the train to find Strider.
iii. WPS Underground Area
After speaking with Strider and showing him the PDA, you’ll need to talk to Lodochka again. He’ll direct you to the WPS building, where you’ll complete the final part of the quest.
- As you approach the WPS building, you’ll intercept a radio transmission, updating your quest to locate survivors.
- Find them in a small building near the entrance, where they’ll share information about a mutant breach.
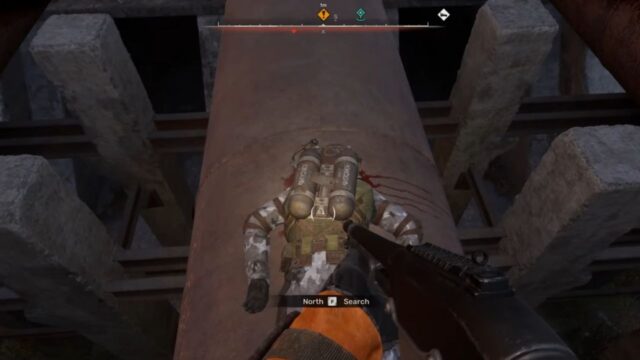
- They’ll also ask you to retrieve a key from North, who’s located on the rooftop.
To reach the rooftop, follow these steps:
- Ignore the main building and follow the yellow mark to the smaller building on the opposite side.
- Enter the building, take the stairs on your right, and head to the middle level.
- Jump across the broken floor to the container, then take another set of stairs up.
- Defeat the zombie-like enemies along the way and climb the ladder behind the stairs to access the rooftop.
- On the rooftop, you’ll find North’s body on the pipes near a small table.
- Retrieve the key, then follow the yellow mark to the basement entrance, using parkour to navigate down.
- With the key in hand, you can also access North’s cabin, located near the container you jumped on earlier.
iv. Defeating the Mutant

To continue the main quest, enter the basement and proceed downward. Be prepared to navigate a section of the sewer path, which is covered in acid. After overcoming this obstacle, you’ll find another ladder leading back up.
From there, follow the straightforward path deeper into the area until you encounter the mutant.
- The final battle in the WPS basement is one of the toughest challenges you’ll face. The area is overrun with zombies, and a powerful mutant will attack you, inflicting PSI radiation with each hit.
- This radiation is separate from normal radiation and will slowly drain your health while causing screen distortions if you accumulate too much.
- To succeed, employ a hit-and-hide strategy: take cover behind an object when the mutant charges, then unleash a burst of gunfire when it’s safe.
- For this battle, it’s recommended to have a shotgun for close combat and a scoped gun for taking out zombies spawned by the boss.
To complete the quest, follow these final steps:
- After defeating the mutant, proceed down the path to find the Inductor in a nearby room, along with some pills that can help alleviate Psi radiation.
- In the hallway leading to the exit, continue past the staircase to discover the Monolith Stash on your left. Enter the code to access it, but be prepared to find it already looted, with only a few guns and ammo remaining.
- If you’ve also taken on the Shift Change quest, be prepared to face off against Hog and several other hostile humans on your way out.
- Return and report to Strider to complete the quest.
With this guide, you should now have the knowledge and confidence to tackle the “Hot On The Trail” quest. Remember to stay vigilant, manage your resources wisely, and adapt to the challenges that come your way.
2. About S.T.A.L.K.E.R. 2: Heart of Chornobyl
S.T.A.L.K.E.R. 2: Heart of Chornobyl is a next-gen sequel that promises a thrilling experience. This highly anticipated game combines the best elements of action, survival, and horror, set in the hauntingly beautiful Chornobyl Exclusion Zone.
In this immersive game, you’ll play a major part in a non-linear story that unfolds in a post-apocalyptic world. With the fate of the Zone in your hands, you’ll face tough choices and challenges that will test your survival skills.
Are you ready to dive into the heart of Chornobyl?






No Comments on How to Complete “Hot On The Trail Quest” in STALKER 2